Mosaic is a passion of mine! I love the classic style of glass tiles, the cutting and grinding, and the blending of colors. But I have discovered another form of mosaic that I am currently loving, using Sculpey Clay to make mosaic tiles. It falls under the general name of ‘Mixed Media’ but means so much more than that.
This style is modern, and fun, and allows your creativity to flow. You have probably heard of Scupley Clay or polymer clay. Sculpey Clay has long been renowned for its exceptional quality, making it an ideal choice for crafting intricate mosaic tiles. Its smooth texture and malleability enable artists of all skill levels to create stunning pieces with ease. I have used it for making jewelry, small ornaments, and a myriad of home décor items. From decorative coasters to embellished picture frames, the possibilities are as endless as your imagination.
How To Work With Sculpey Clay
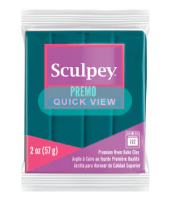
Kneading Sculpey Clay is the fundamental step that sets the stage for your artistic journey. Perfecting this technique ensures the pliability and smooth consistency required to breathe life into your creative visions.
What you need –
Sculpey Clay in your chosen colors
Clean, smooth work surface
Your hands (or a rolling pin, if preferred)
Preparation – Begin by preparing your work surface. Ensure it’s clean and free of debris to prevent any unwanted textures on your clay. Dust the surface lightly with cornstarch or use a dedicated clay mat to prevent sticking.
Condition the Clay – Take your Sculpey Clay and break off a manageable portion. To condition the clay, roll it between your hands to warm it up. The heat generated by your hands will make the clay more pliable and easier to work with.
Folding Technique – Fold the clay in half, then press down and flatten it with the heels of your hands. This folding technique helps distribute the heat evenly and removes any air pockets that may be trapped within the clay.
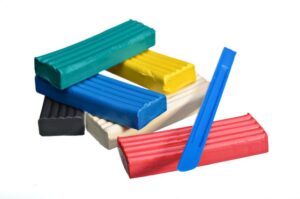
Repeat and Rotate – Continue to fold and flatten the clay, rotating it between each fold. This process ensures that the clay is uniformly conditioned. Keep kneading until the clay becomes soft, smooth, and easily manipulated.
Test for Consistency – Check the consistency of your clay by gently pressing it between your fingers. It should feel supple and uniform, without any lumps or hard spots. If needed, continue kneading until you achieve the desired texture.
Tips – Break the clay into smaller sections to make kneading more manageable, especially when working with larger quantities.
If the clay becomes too soft or warm, allow it to cool for a few minutes before continuing. Conversely, if it’s too firm, knead it a bit more to soften.
Shaping and Baking the Tiles
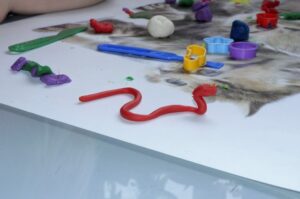
I like to use a pasta roller – yes – for pasta! Take a small piece of kneaded clay and pass it through the roller. Use a thickness setting of about 0.1 inches (3mm).
When your clay comes out of the roller, use a cookie cutter to cut the shape you need. I cut squares, triangles, rectangles, circles, hearts, stars, and other random shapes depending on the style of my mosaic.
Now, you can decorate your tiles with designs. I use rubber stamps, pieces of metal, even jewelry, or any other raised image. Simply press the design into the clay creating a 3D effect. Press hard enough to impart the design into the clay, but not hard enough to push the piece out of shape.
Bake the tiles in an oven set at 230 degrees C or 110 degrees F for around 10 minutes. Don’t burn your tiles! Sculpey clay can be baked in a normal oven as it does not contain any toxic components. I place the tiles on a baking sheet that I only use for clay.
When the time is up, take the tiles out of the oven, remove them from the baking sheet, and allow them to cool on a flat surface. The texture when cooled, is pliable and malleable, which makes it easy to cut the tiles if you want to create a unique shape to fill in a particular spot in your design.
Decorating The Tiles
When your tiles are cool, you can then go to town and decorate them using any technique that takes your fancy.
Paint – Dip your finger into a drop of paint and rub it on a clean piece of paper until just a tinge remains. Now lightly rub your finger over the tile. The result is amazing! The higher areas are colored and the indented areas remain the original color of the tile. This effect creates eye-catching vintage-style tiles. It looks even more spectacular if you use gold, silver, bronze, or other metallic paints.
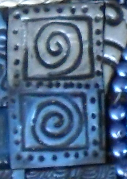
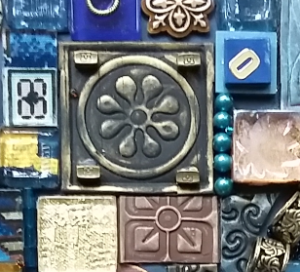
Embellish with Jewelry – Find old pieces of broken bracelets, earrings, or necklaces and stick them onto the tiles. You can use metal, plastic, or even fabric bits and pieces to embellish your tiles.
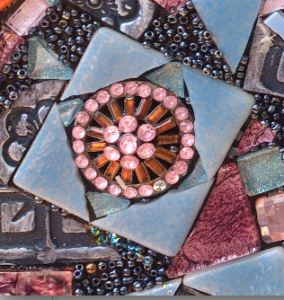
Glitter – I love to fill the indents with glitter. It gives the tiles a fabulous texture and shimmer. Using glitter pens takes the mess out of spilling glitter all over everything.
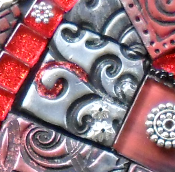
Stick on a Picture – Use a simple decoupage technique and stick on a small picture. I use Modge Podge to glue the picture onto the tile and then seal it on top to protect it from damage.
Now you have a collection of handmade tiles to create your dream mosaic!